[database] MySQL 맥 OS에 설치하기
업데이트:
MySQL 맥 OS에 설치하기
참고링크
참고 링크
- MySQL 윈도우에 설치하기
- MySQL 간단 정리, 우분투, 맥에 설치 하기
- 파이썬, MySQL 연동
- (1)MySQL에 데이터베이스, 테이블 생성하기
- (2)장고, MsSQL 연결하기
- (2)장고, MySQL 연결하기
- (3)장고 inpectdb로 DB 데이터 model.py로 만들기
- (4)장고로 MySQL에 있는 데이터 웹상에서 보여주기
- (5)장고로 MySQL에 데이터 insert 하기
- (6)장고로 MySQL에 데이터 수정(put) 하기
- (7)장고로 MySQL에 데이터 삭제(delete) 하기
1. MySQL 다운로드 받기
터미널을 실행시킨 다음 커맨드르 입력합니다.
$ brew install mysql

Running `brew update --preinstall`...
==> Auto-updated Homebrew!
Updated 1 tap (homebrew/core).
==> New Formulae
...(중략)
We've installed your MySQL database without a root password. To secure it run:
    mysql_secure_installation

MySQL is configured to only allow connections from localhost by default

To connect run:
    mysql -uroot

To restart mysql after an upgrade:
  brew services restart mysql
Or, if you don't want/need a background service you can just run:
  /usr/local/opt/mysql/bin/mysqld_safe --datadir=/usr/local/var/mysql
설치르 했으면 버전을 확인합니다.
$ mysql -V
mysql  Ver 8.0.29 for macos12.2 on x86_64 (Homebrew)
MySQL을 실행해보겠습니다.
$ mysql.server start
Starting MySQL
.. SUCCESS!
위 처럼 SUCCESS가 뜨면 잘 실행이 된 것입니다.
참고로 MySQL자체를 내리고 싶으면 다음과 같이 입력합니다.
$ mysql.server stop
2. 설정하기
설치를 마쳤으면 설정을해보겠습니다
$ mysql_secure_installation

Securing the MySQL server deployment.

Connecting to MySQL using a blank password.

VALIDATE PASSWORD COMPONENT can be used to test passwords
and improve security. It checks the strength of password
and allows the users to set only those passwords which are
secure enough. Would you like to setup VALIDATE PASSWORD component?

Press y|Y for Yes, any other key for No: N
위 코드 처럼 mysql_secure_installation을 입력하면 비밀번호를 복잡하게 만들것이냐라고 묻는데
저는 간단하게 정할것이므로 N를 입력하겠습니다.
만약 복잡하게 설정하고 싶다면 y 또는 Y를 입력해주세요
New password:

Re-enter new password:
그 다음은 비밀번호를 적어주세요.
By default, a MySQL installation has an anonymous user,
allowing anyone to log into MySQL without having to have
a user account created for them. This is intended only for
testing, and to make the installation go a bit smoother.
You should remove them before moving into a production
environment.

Remove anonymous users? (Press y|Y for Yes, any other key for No) : y
그리고 기본적으로 만들어지는 익명유저를 삭제합니다.
Normally, root should only be allowed to connect from
'localhost'. This ensures that someone cannot guess at
the root password from the network.

Disallow root login remotely? (Press y|Y for Yes, any other key for No) :  y
다음으로 원격에서 root로 로그인하는 것을 막겠냐는 질문에 답합니다. 저는 테스트용 DB이므로 원격 로그인을 막기 위해 y를 입력하겠습니다.
By default, MySQL comes with a database named 'test' that
anyone can access. This is also intended only for testing,
and should be removed before moving into a production
environment.

Remove test database and access to it? (Press y|Y for Yes, any other key for No) :  N
그리고 테스트용 디비를 지울건지 물어봅니다. 지울거라면 y를 입력합니다. 저는 테스트 데이터를 사용할 것이므로 N를 입력하겠습니다.
Reloading the privilege tables will ensure that all changes
made so far will take effect immediately.

Reload privilege tables now? (Press y|Y for Yes, any other key for No) : y
설정 내용을 테이블에 적용할 것인지 묻는 마지막 질문에 y라고 답변을 하고 나면 아래와 같은 메시지가 나타납니다.
All done!
만약에 설정을 다시 하고 싶다면 언제든 다시 mysql_secure_installation을 입력하면 됩니다!
3. MySQL 둘러보기
3.1. 접속하기
설정까지 마쳤으니 MySQL을 한번 사용해보겠습니다.
다음 코드 처럼 mysql -u root -p를 입력해서 root계정으로 비밀번호를 입력해서 접속합니다.
$ mysql -u root -p
Enter password:

Welcome to the MySQL monitor.  Commands end with ; or \g.
Your MySQL connection id is 11
Server version: 8.0.29 Homebrew

Copyright (c) 2000, 2022, Oracle and/or its affiliates.

Oracle is a registered trademark of Oracle Corporation and/or its
affiliates. Other names may be trademarks of their respective
owners.

Type 'help;' or '\h' for help. Type '\c' to clear the current input statement.

mysql>
3.2. 데이터베이스 확인하기
mysql> show databases;
+--------------------+
| Database           |
+--------------------+
| information_schema |
| mysql              |
| performance_schema |
| sys                |
+--------------------+
4 rows in set (0.02 sec)
3.3. 사용하고 싶은 데이터베이스 선택하기
저는 위 데이터베이스 중 sys 데이터베이스를 사용해보겠습니다.
mysql> use sys
Reading table information for completion of table and column names
You can turn off this feature to get a quicker startup with -A

Database changed
3.4. 해당 데이터베이스에 있는 테이블 확인하기
mysql> show tables;
+-----------------------------------------------+
| Tables_in_sys                                 |
+-----------------------------------------------+
| host_summary                                  |
| host_summary_by_file_io                       |
| host_summary_by_file_io_type                  |
| host_summary_by_stages                        |
| host_summary_by_statement_latency             |
| host_summary_by_statement_type                |
3.5. 쿼리 날려보기
mysql> select * from host_summary;
+-----------+------------+-------------------+-----------------------+-------------+----------+-----------------+---------------------+-------------------+--------------+----------------+------------------------+
| host      | statements | statement_latency | statement_avg_latency | table_scans | file_ios | file_io_latency | current_connections | total_connections | unique_users | current_memory | total_memory_allocated |
+-----------+------------+-------------------+-----------------------+-------------+----------+-----------------+---------------------+-------------------+--------------+----------------+------------------------+
| localhost |        318 | 450.59 ms         | 1.42 ms               |          10 |      156 | 49.68 ms        |                   2 |                 5 |            2 | 11.68 MiB      | 63.39 MiB              |
+-----------+------------+-------------------+-----------------------+-------------+----------+-----------------+---------------------+-------------------+--------------+----------------+------------------------+
3.6. MySQL 종료하기
mysql> exit
Bye
4. MySQL Workbench 설치하기
워크벤치를 사용하면 터미널에서 데이터를 확인하는 것보다 GUI환경에서 편하게 확인할 수 있습니다.
4.1. 다운로드
https://dev.mysql.com/downloads/workbench/로 이동해서 다운로드를 합니다.
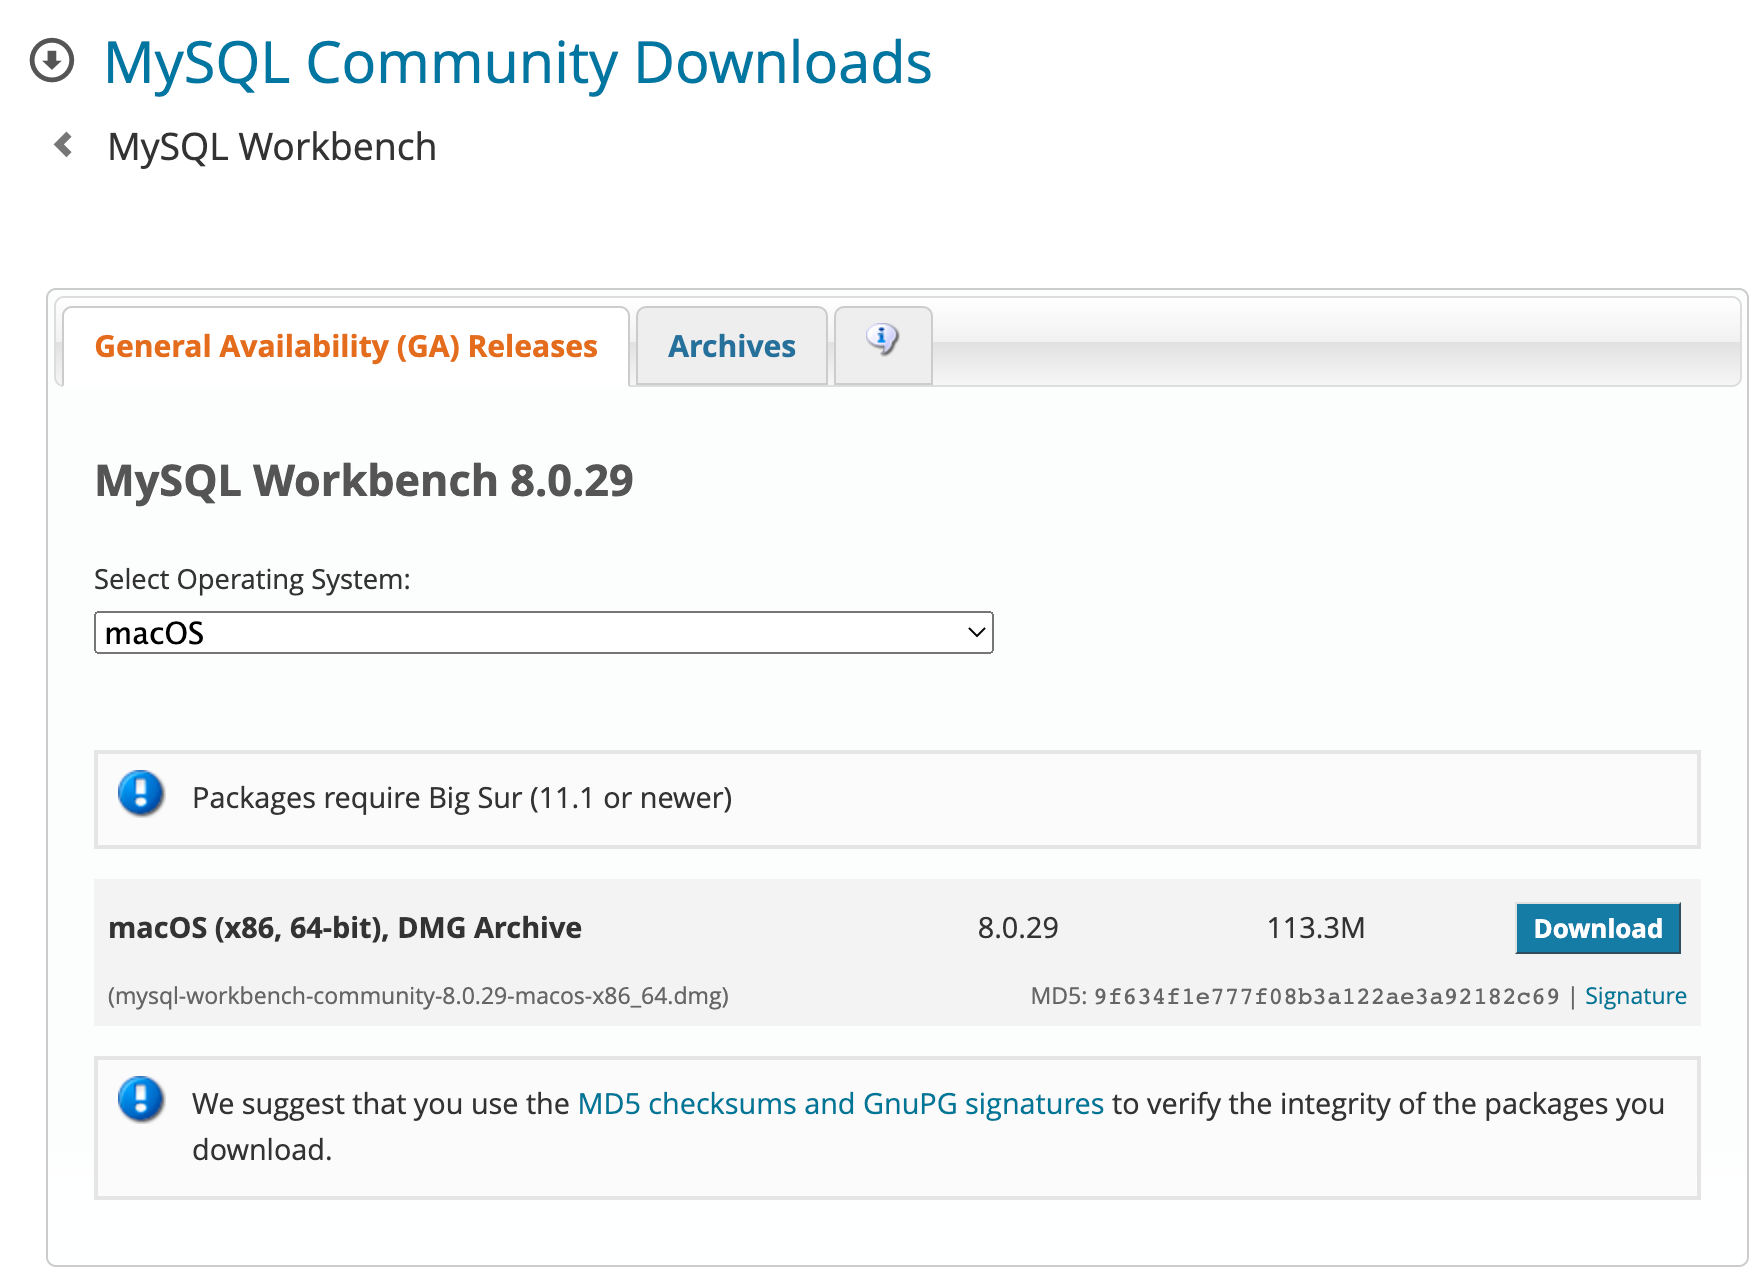
위와 같은 화면에서 다운로드를 클릭합니다.
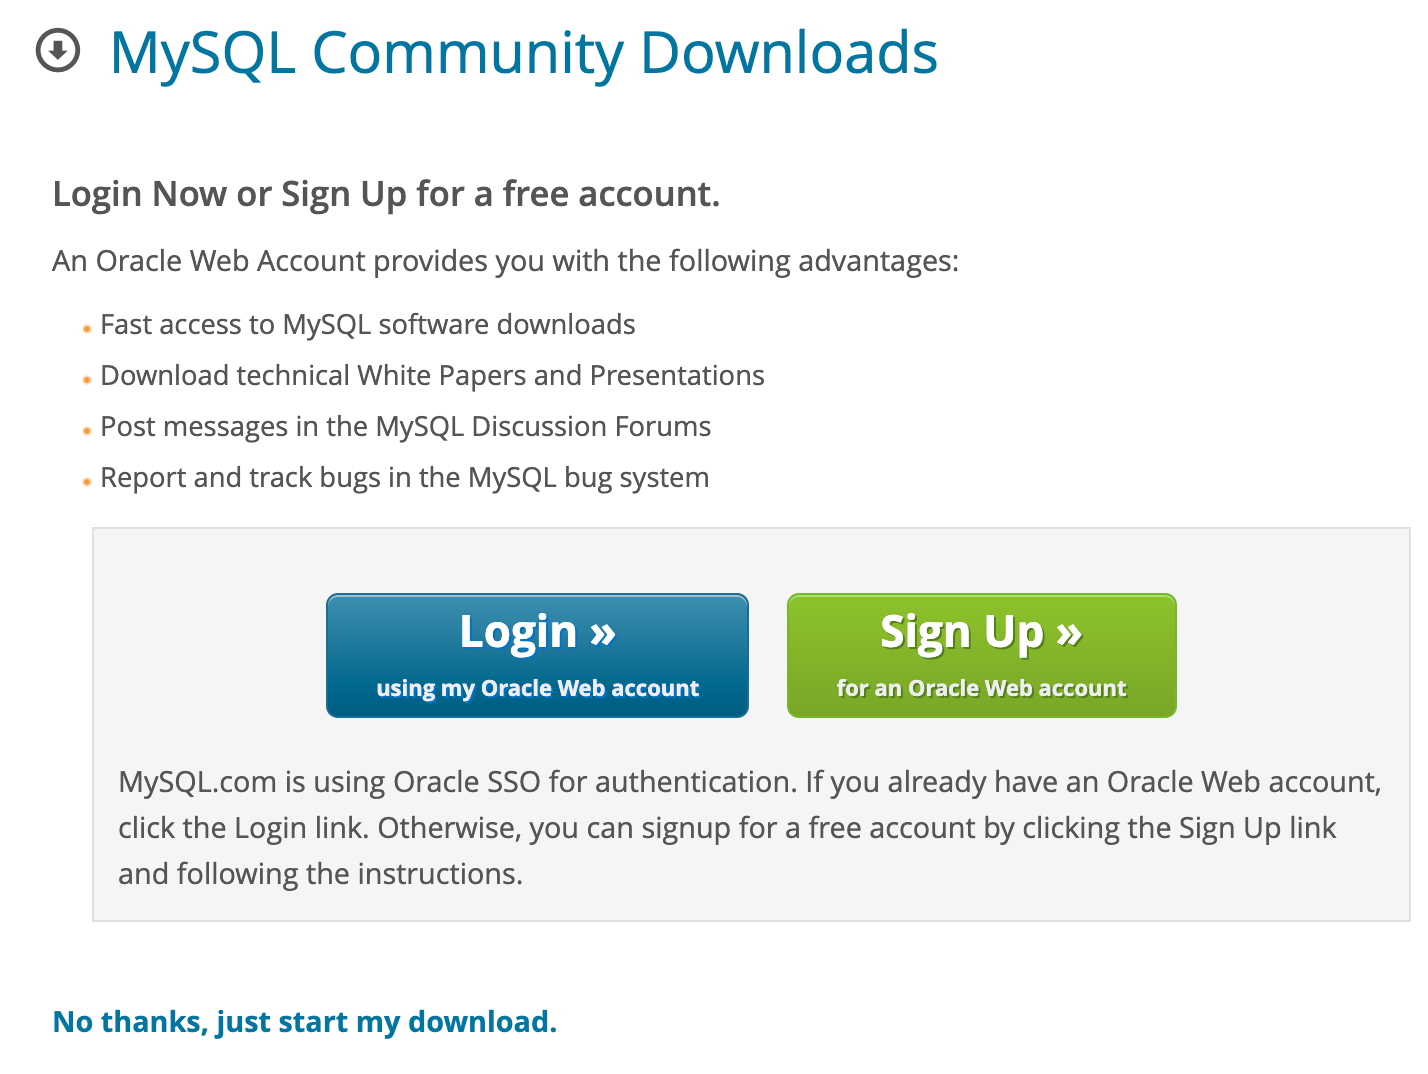
그러면 가입하겠냐는 창이 나오는데 가장 아래에 no thanks를 클릭해줍니다. 그럼 다운로드가 진행되고 다운로드 받은 파일을 실행하면 다음과 같은 워크 벤치가 실행됩니다.
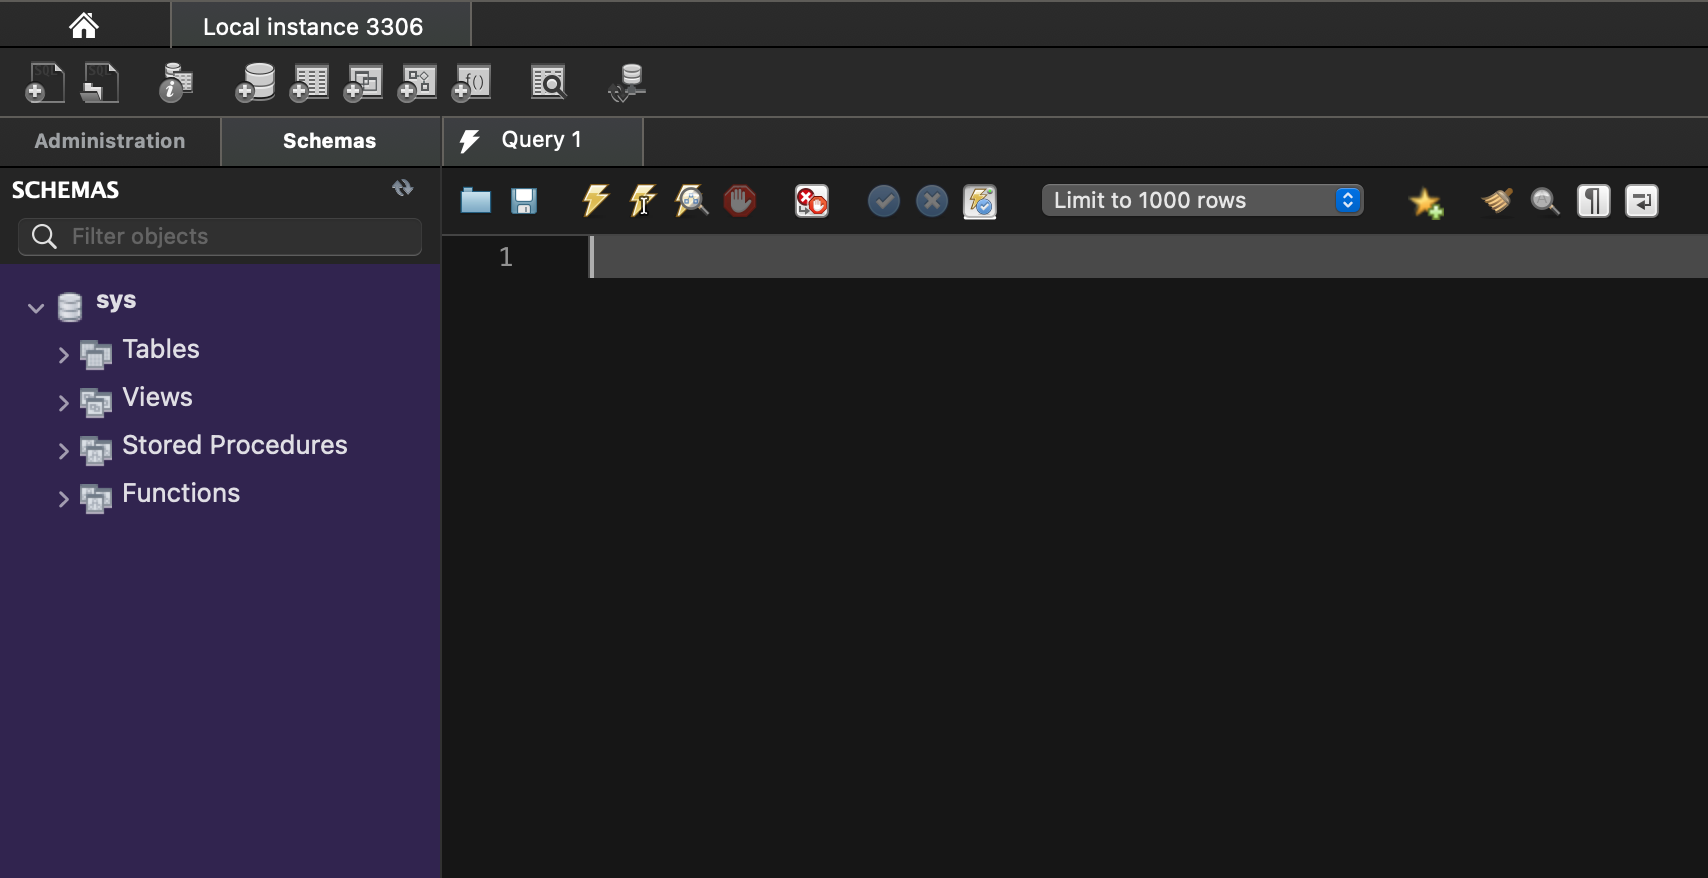
4.2. 워크벤치 실행하기
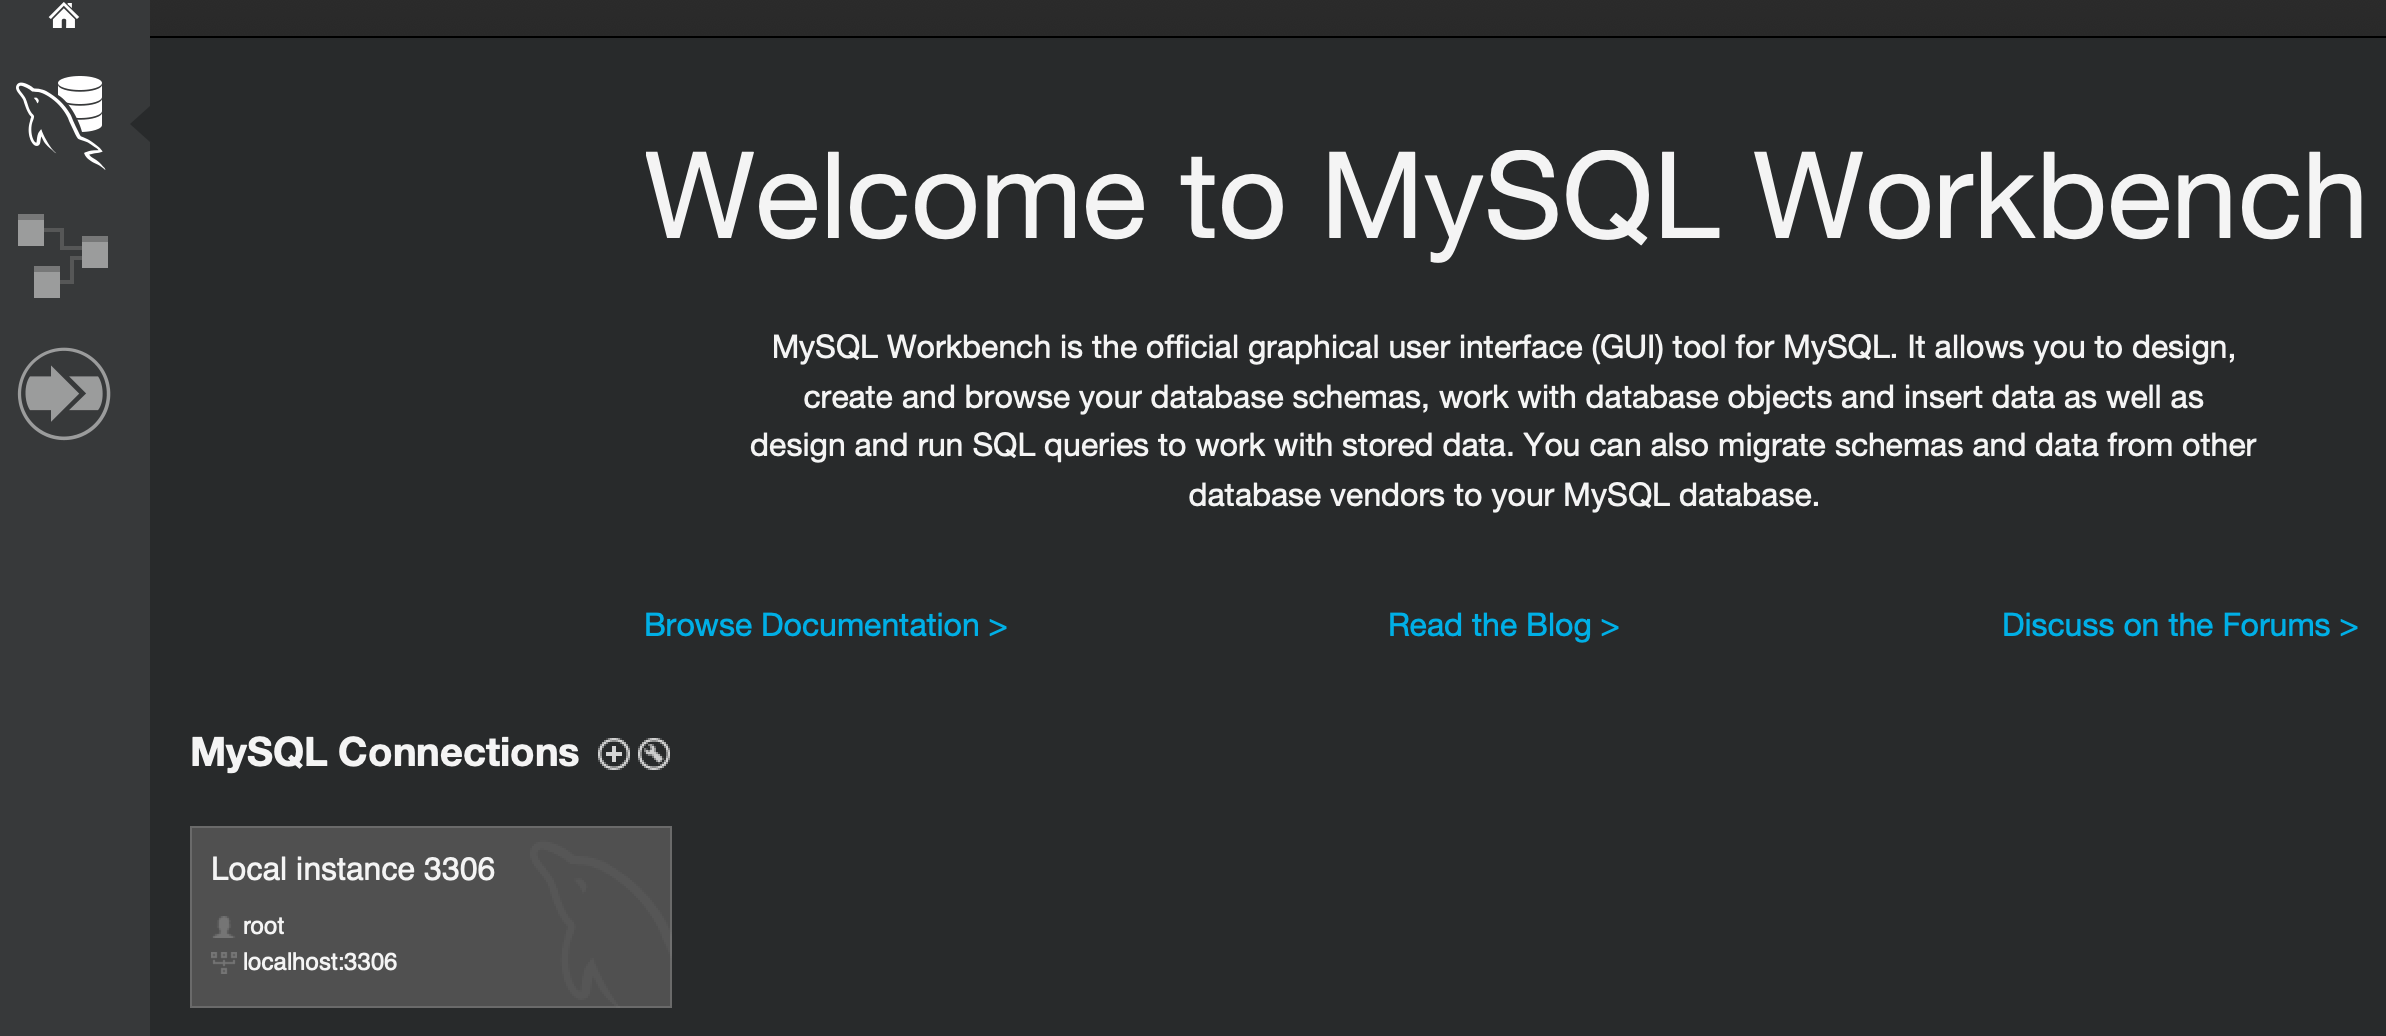
실행되면 보이는 localhost를 클릭하면 다음과 같이 비밀 번호를 입력하라는 창이 나옵니다.
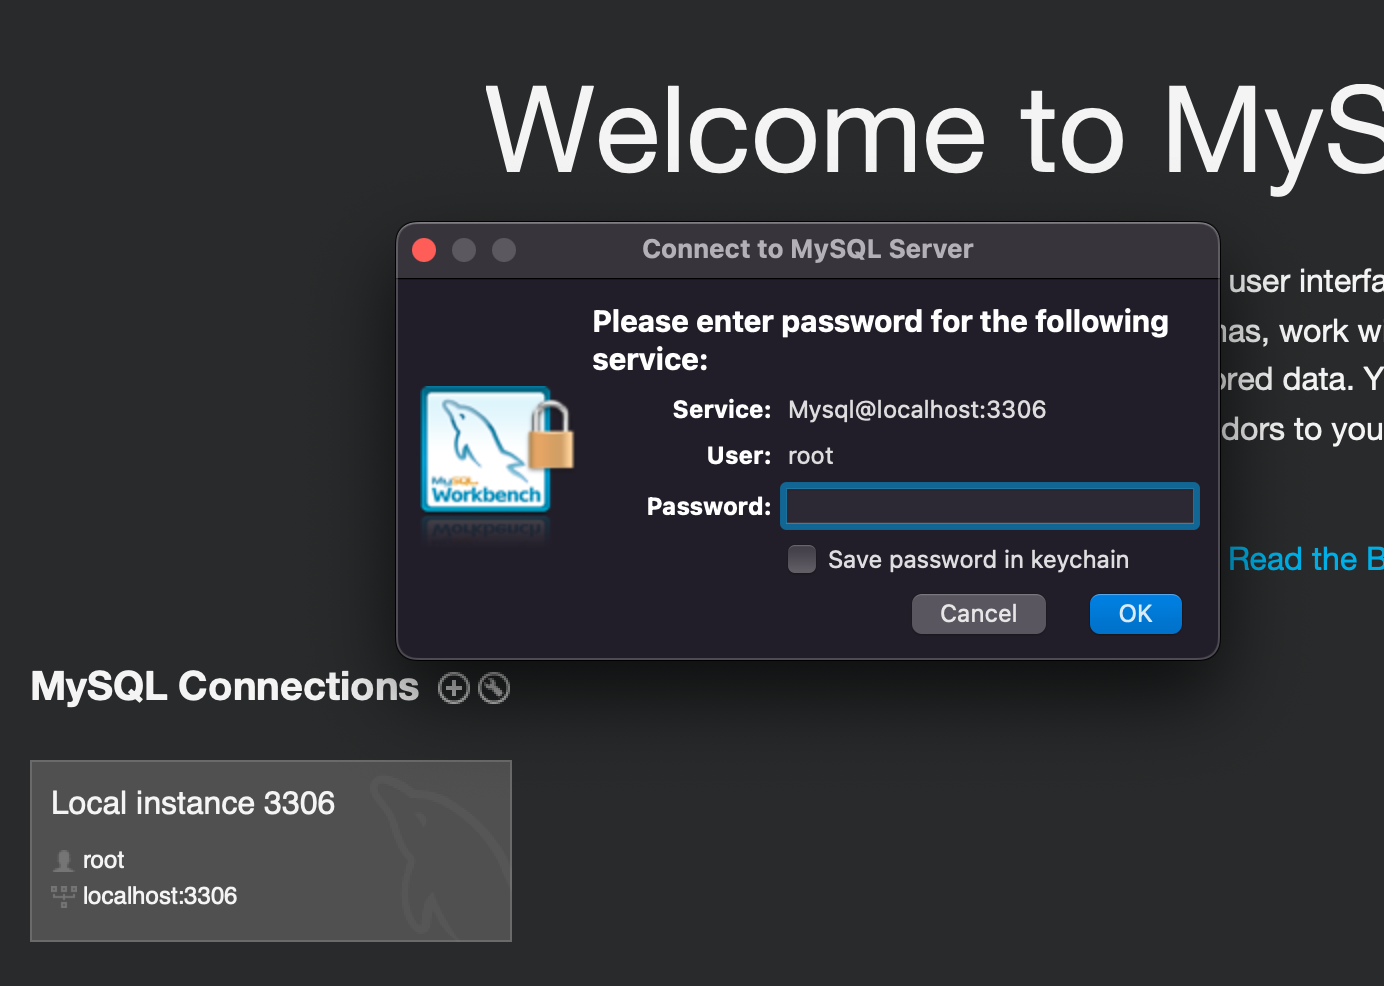
비밀번호를 입력하면 다음과 같이 데이터를 확인할 수 있는 창이 나옵니다.